Folding a Tent Can Be Tricky at First
A tent is an essential item for camping.
But when you’re just starting out, folding it properly can be a real challenge. It often ends up bulkier than when it first came out of the package.
And even though the instruction manual usually explains how to set the tent up, it often leaves out how to fold it back up.
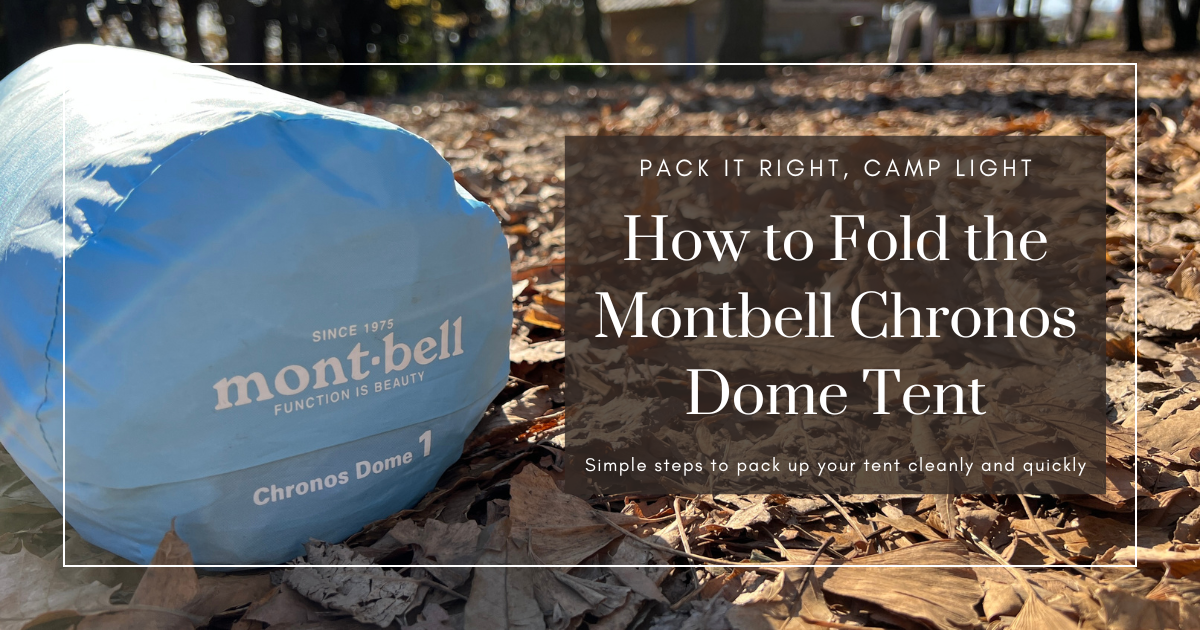
In this article, we’ll show you how to neatly and compactly fold the “Chronos Dome” tent by mont-bell.
Chronos Dome 1 Model

The tent we’re folding today is the Chronos Dome 1 model, a solo tent.
It’s the perfect size for walkers and solo campers—I’ve been using mine for over five years.
(Note: The folding method introduced here is based on my personal approach and is not an official procedure.)
How to Fold the Inner Tent
We’ll begin with the inner tent.
1. Lay Out the Inner Tent Flat
First, spread out the inner tent flat and smooth.

Be sure to open the entrance zipper so the air can escape more easily—this will help with folding.
2. Fold It in Half Horizontally
Next, fold it in half lengthwise.


Align the edges precisely to form a neat rectangle.

3. Fold It in Half Vertically
Now fold it in half vertically.


The center may puff up during folding—push out any remaining air as you go and match the edges cleanly.

4. Fold It in Half Vertically Again
If you compare the current size of the inner tent with the storage bag, you’ll see they’re about the same length.

Now fold it in half vertically once more.


The result is about 50–60% of the storage bag’s vertical length.

5. Roll It Up with the Poles!
Once folded, wrap the inner tent around the poles.


Be sure to squeeze out air as you roll, keeping it tight and compact.

6. Inner Tent Packed!
Once rolled up, your inner tent is ready for packing.

It folds up very compactly.


Next, let’s fold the flysheet.
How to Fold the Flysheet
Now let’s move on to the flysheet.
1. Spread the Flysheet Out Flat
Just like with the inner tent, lay the flysheet out flat first.

The front side of the Chronos Dome flysheet is longer because of the vestibule. So flip it over and make sure the back side is fully extended as well.
2. Fold the Sides In
Fold both side edges inward.
The “sides” refer to the darker blue portions of the tent.


Use the hook positions as your folding guide.

Here’s how it looks after folding inward.

This is essentially a “valley fold” like in origami—fold inward from the hook points.

If done properly, the sides will align neatly.

Repeat on the other side. After both sides are folded in, the flysheet will be much more compact.

You’ll notice it’s much tidier overall.
3. Fold the Flysheet in Thirds
Now fold the flysheet into thirds.
You don’t need to fold it into exact thirds—adjust the size so it fits the storage bag.
Here’s a visual guide.

Start by folding the right side inward lengthwise. Laying the storage bag beside it helps as a size guide.

Refold any parts that exceed the storage bag size.


Now fold the left side as well.
First, fold it once vertically.

Then fold again, aligning it with the bottom edge of the storage bag.

It should now match the vertical height of the storage bag.

Finally, fold the bottom edge up slightly to keep everything tidy.


You’re now nearly done. The flysheet fits the storage bag perfectly.

4. Wrap It Up with the Poles & Inner Tent
Time for the finishing touch!
Place the inner tent and poles on top of the folded flysheet and roll everything up.


Here’s the result—perfectly sized to fit into the storage bag.


Final Step: Put It in the Storage Bag
Slide everything into the storage bag. With this folding method, there’s even a little extra room left.


Still space left inside.

Tighten the bag’s opening to finish.

The Way You Fold a Tent Affects How Much You’ll Carry
Folding a tent doesn’t change its weight—but if folded poorly, air can get trapped or the shape becomes awkward, making it much bulkier to carry.
mont-bell tents are truly practical and thoughtfully designed. The Chronos Dome remains one of my all-time favorites.
By folding your tent neatly and efficiently, you can wrap up your camping trip on a high note.
I hope this guide helps make your tent packing a little easier.

